Hey everyone! 👋
Just for fun, I decided to take on a small electronics project: building my own Arduino-compatible board from scratch, based on the Atmel ATmega328 microcontroller.
Why build one instead of simply using a ready-made Arduino? For me, part of the fun is understanding what’s actually happening under the hood and seeing how a few basic components can come together to create a fully functional microcontroller board.
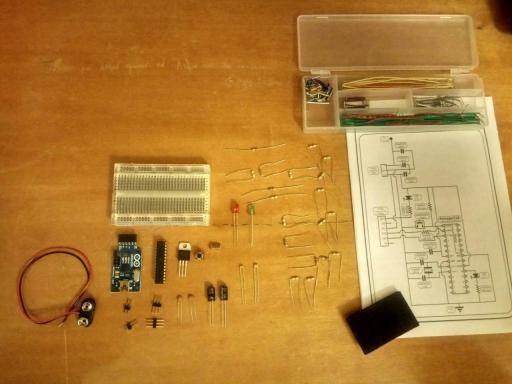
Here’s what I have for the build:
- ATmega328 microcontroller
- Crystal oscillator
- Resistors and capacitors
- Voltage regulator
- LEDs
- Breadboard and jumper wires
- A few other components needed to get everything running
The only thing missing right now is a battery, which I’ll pick up tomorrow. 🔋
Once assembled, this little custom Arduino could be used as the foundation for all kinds of projects – sensors, automation, IoT experiments, robotics, or simply more electronics tinkering.
For now, the goal is simple: build it, power it up, and see if it works! 😄
Nothing fancy, just a fun little project and a good excuse to spend some time with electronics.
See you soon!